Loyalty Registration
The Loyalty Registration page is where your customers will have to type in their information in order to register with your loyalty program.
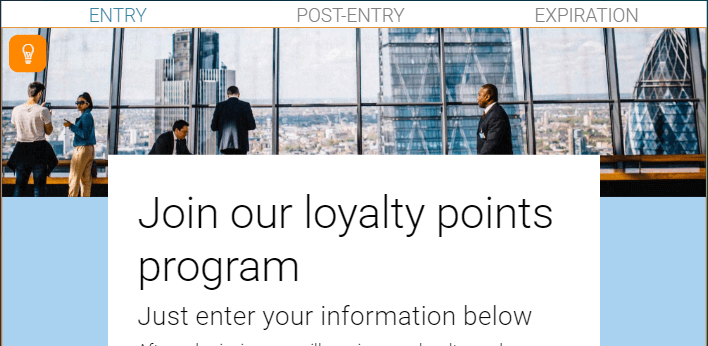
This is how a registration page should look like:
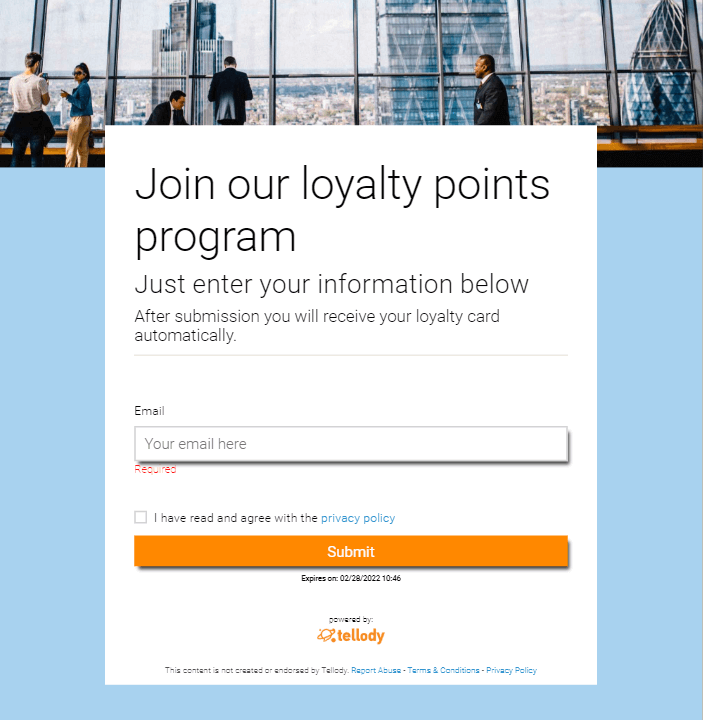
People that are filling in this form are imported directly into Tellody's contact database.
Below you will find:
Before your start
Before your start configuring your Loyalty Registration page you have to decide about the Customer information you need to collect.
If you collect only the communication information (customer's mobile numbers or emails) your form will be simple and appealing to your customers.
If you collect communication information, names, surnames and birthdays, then you would be able to personalize your communications and your loyalty cards (eg write the customer's name on the card) and to run personalized campaigns on your customer base (like birthday campaigns).
Be careful, a registration page with too many input fields is not appealing to your customers.
Configuring the Loyalty Registration page
1. From the Services page Click on the Loyalty registration tile to generate a new Loyalty Registration service.
2. Name your Loyalty Registration service through the name placeholder
3. Click on the ending placeholder and select the preferable ending time and date of your service. Selection is based on your local timezone which is automatically detected from your browser settings.
4. Configure visual design properties
You can either upload and use your own custom Theme (e.g. upload a custom image) or you can use one of the hundreds that Tellody provides by default. Just click the lamp button at the left top corner of the theme photo (more about Themes).
5. Configure the Loyalty Registration service.
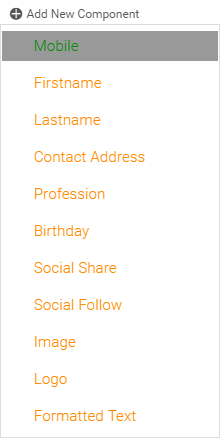
Click to the Add New Components menu to add preferred components.
Move around the new components into their desired positions.
You can not have a mobile and an email component both in the same form.
In Tellody your can sign in new contacts by their email OR by their mobile numbers.
Regulations and GDPR laws forbid single sign in forms requiring both the Email and the mobile number.
6. Configure your Post-Entry and expiration messages.
Post-entry Message
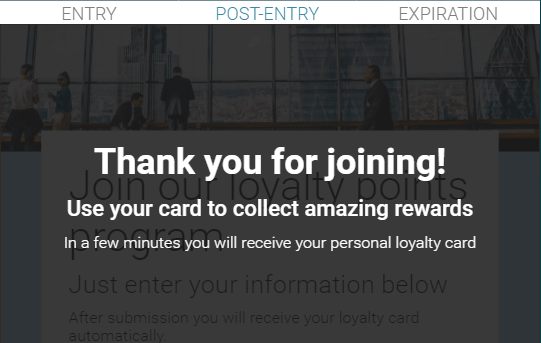
This message will appear after your customer has successfully submit his/hers information.
Expiration Message
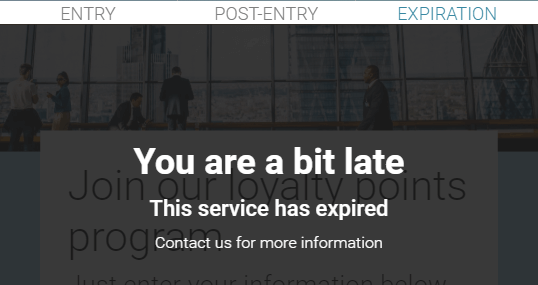
The message is shown when the Loyalty Registration service has expired.
8. Generate your Loyalty Registration service.
Once you have finished configuration and you are ready to go live, click on the Create button on the right bottom corner.
Report
1. Navigate to the Services page
2. Find your Loyalty Registration service.
3. Click on the Loyalty Registration bubble to get to the report page
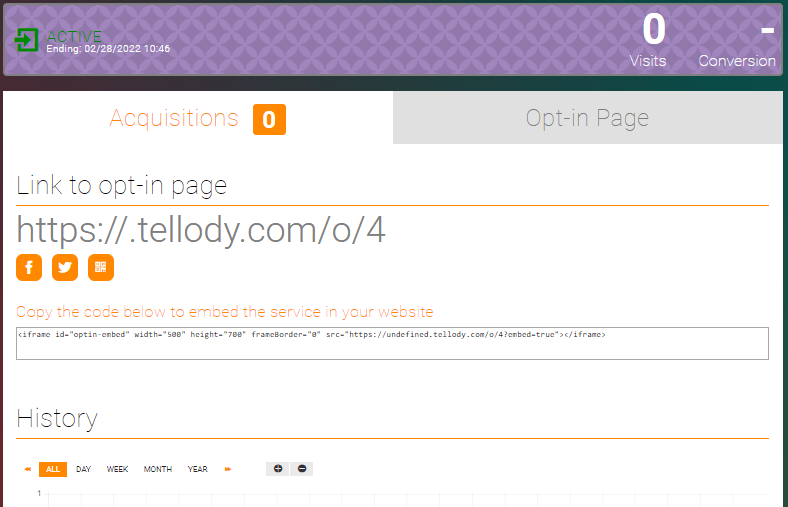
The link of the above photo is where your new Loyalty Registration is:
From the report page your can View Visits, Acquisitions, Conversion rates and detailed service report.
The following options are available:
- Duplicate service, use in an Event Campaign, stop, export, create dynamic group for Opt-in participants

- Post to Social Media

- View the QR code
- Embed the URL generated for the Opt-in service
Using the registration page
There are various ways you can use the Loyalty Registration link to subscribe new customers.
1. Have a browser on a device pointing at the registration page.
Keep the device next to the counter so your customers can type in their information at checkout.

Idea: offer your customers 10% discount if they register to your loyalty program
2. Print out the QR code that leads to the registration page of your loyalty program.
Just have the code somewhere visible in your shop.

3. You or one of your counter employees can type in your customer communication information.
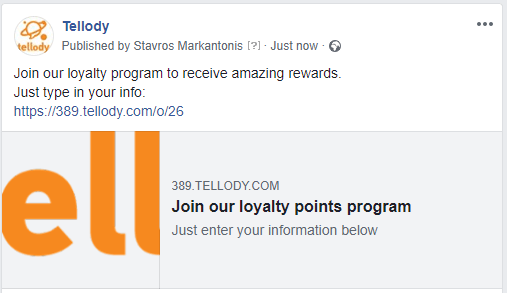
4. Post the registration page link to your social media to get people joining from the internet.
Boost this post so it will be visible outside your close circle of people.
