Loyalty Welcome
The Loyalty Welcome is the message you send to your contacts after they subscribe (register) to one of your registration pages.
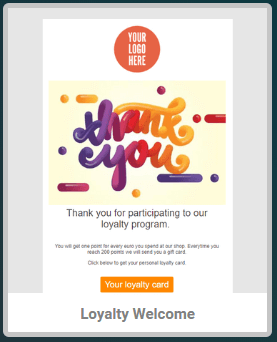
This is how a typical Customer Points Welcome email should look like:
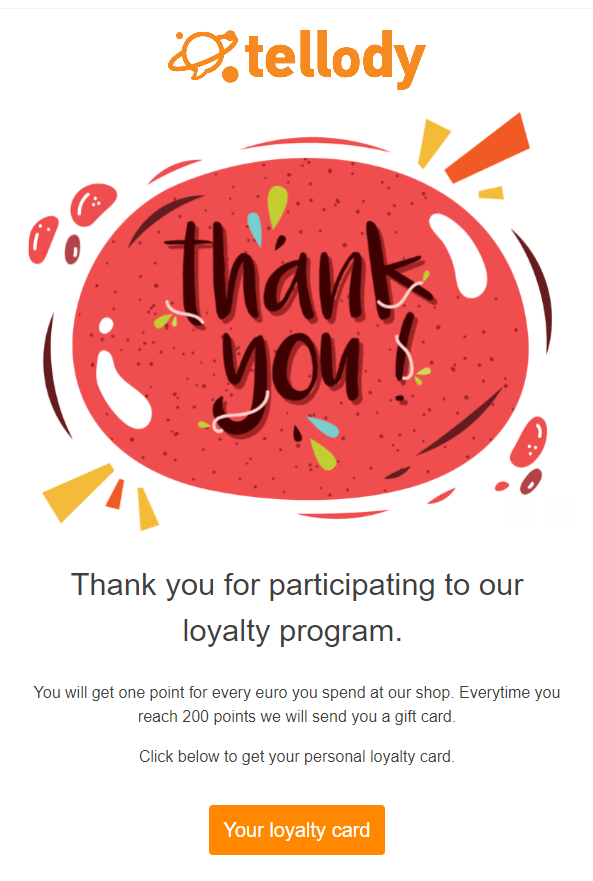
The Loyalty Welcome message is an event driven message, it can be an email or a SMS and it carries the customer's Loyalty cards (a link to them).
Configuring the Welcome message is a three fold operation. You have to:
- Set up your message. Write your message if it is an SMS or compose your email adding your logo, aesthetics and changing the texts.
- Configure your Registration page to be the trigger for the Welcome message.
- Attach your Customer points loyalty card to the button of your email or to the shortlink of your SMS.
Find below:
Setting up the Email Welcome message
1. Navigate to Campaigns page.
2. Click on the Event Email Campaign tile.
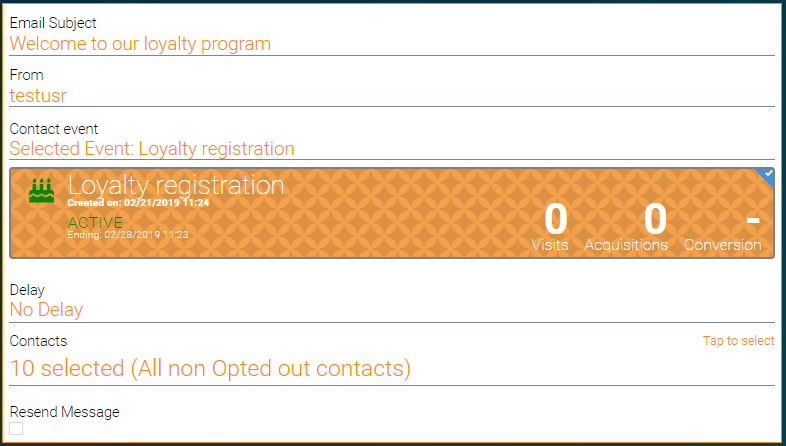
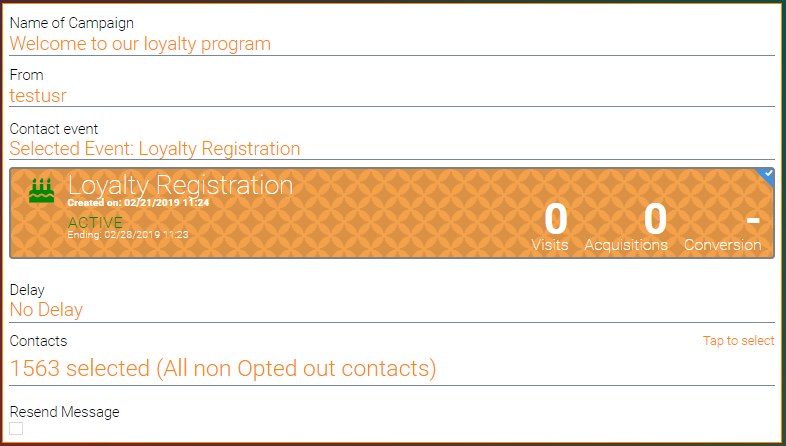
3. Type in the name of your campaign and select the Contact Event.
For contact event your should choose your Loyalty registration page.
This means that anytime someone signs up to your Loyalty Registration page the Loyalty Welcome message will be sent.
4. Select the Loyalty Welcome template.
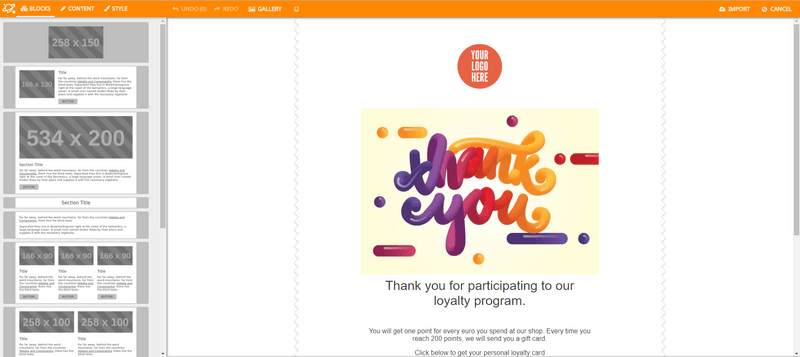
5. Edit the template.
Change the texts, the pictures, the logos to match your brand's aesthetics.
6. Choose the Loyalty card to be attached to the message.
Select the loyalty card you would like to be sent.
This means that when someone hits the "Your loyalty card" button of the Loyalty Welcome email or the shortlink of your Loyalty Welcome SMS, he/she will get the selected Customer Loyalty card.
7. Create your Welcome message.
Your Loyalty Welcome email is ready.
This message will be sent automatically to every contact that will type his/hers info into the selected registration page.
When the contact hits the "Your loyalty card" button, his/hers personal card will be downloaded in his/hers device.
Setting up the SMS Welcome message
1. Navigate to Campaigns page.
2. Click on the Event SMS Campaign tile.
3. Type in the name of your campaign and select the Contact Event.
For contact event your should choose your Loyalty registration page.
This means that anytime someone signs up to your Loyalty Registration page the Loyalty Welcome message will be sent.
4. Write your message.
This is a typical welcome message.

Do not forget to add a voucher tag {UURL.voucher} to your message by pressing this button:
5. Choose the Loyalty card to be send with the message.
Select the loyalty card you would like to be sent.
This means that when someone hits the "Your loyalty card" button of the Loyalty Welcome email or the shortlink of your Loyalty Welcome SMS, he/she will get to his/her Customer Loyalty card.
6. Create your Welcome message.
Your Loyalty Welcome SMS is ready.
This message will be sent automatically to every contact that will type his/hers info into the selected registration page.
When the contact hits the tiny URL on his/hers SMS, his/hers personal card will be downloaded 0n his/hers device.
After configuration you should be able to view your Welcome message bubble at the campaigns page. It should look like this:

Customer experience
When your customers will get their Loyalty Welcome email or sms, they will be able to view their Customer Loyalty cards by clicking on the button (email) or on the shortlink (SMS).
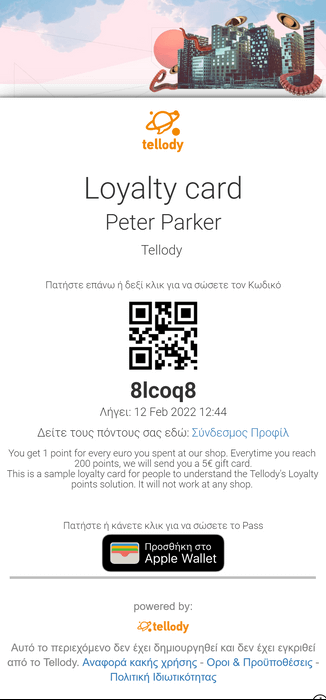
By pressing the apple wallet button (or add to wallet button for android devices), your customer downloads the Customer Points card to his/hers device as a pass.


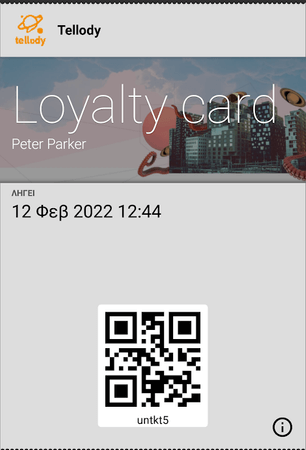
This is how a tellody's Loyalty Points pass should look like (passes are used in wallet apps):
