Opt-in
You can use opt-in services to express permission by a customer or a recipient of a marketing message that allows you to send more information or other messages. Opt -in service makes the difference between an email of consent and a bulk email often characterized as spam.
Use an Opt-in to grow your customer base
Create
1. From the Services page you can view all the pre-configured Opt-in Services
2. Click on the Opt-in tile to generate the service
3. Name your Opt-in service through the name placeholder
4. Click on the ending placeholder and select the preferable ending time and date of your service. Selection is based on your local timezone which is automatically detected from your browser settings.
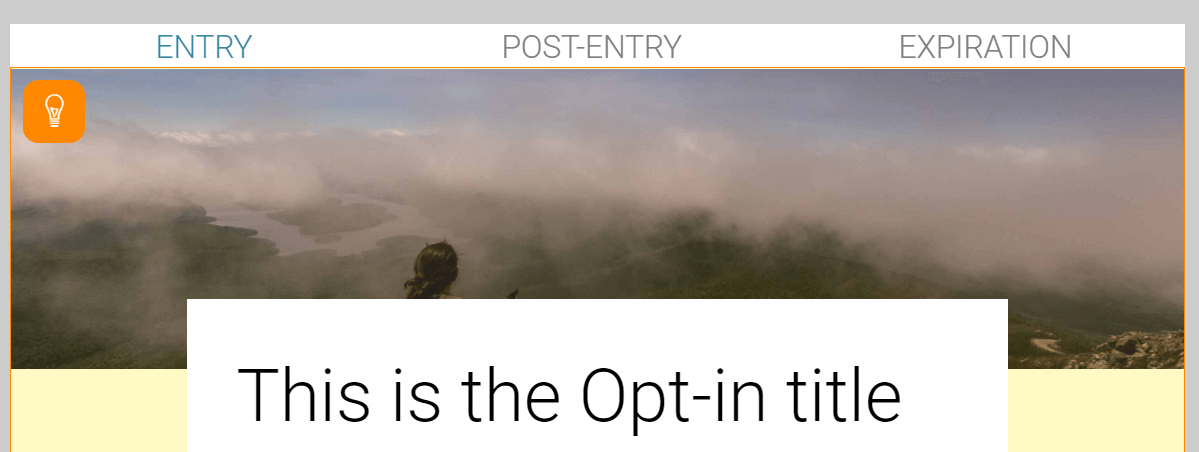
5. Select a theme; click the lamp button at the left top corner of the theme photo (more about Themes)
6. Configure your service. Click to the Add New Components menu to add preferred components, e.g. Firstname, Lastname, etc.
7. Configure Post-Entry messages
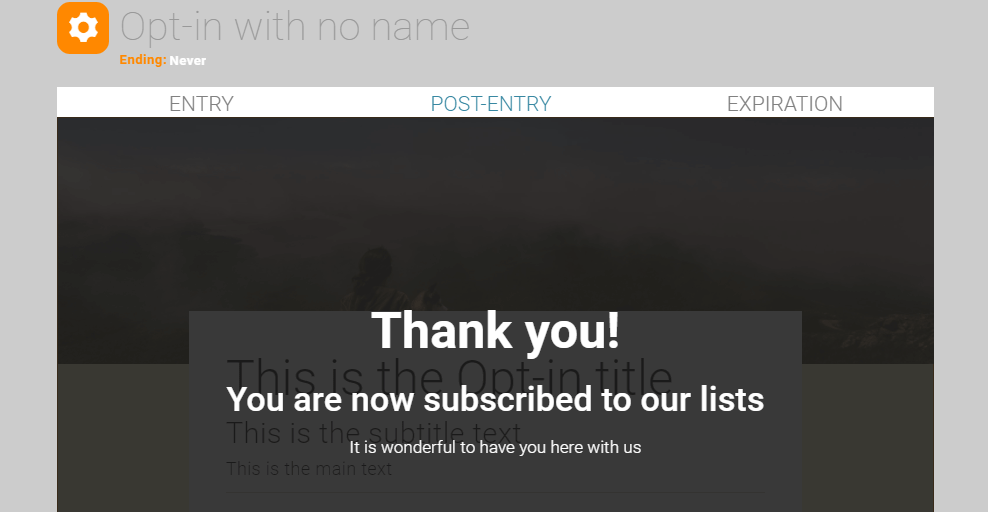
Post-Entry Message
The message that appears after successful, on-time participation
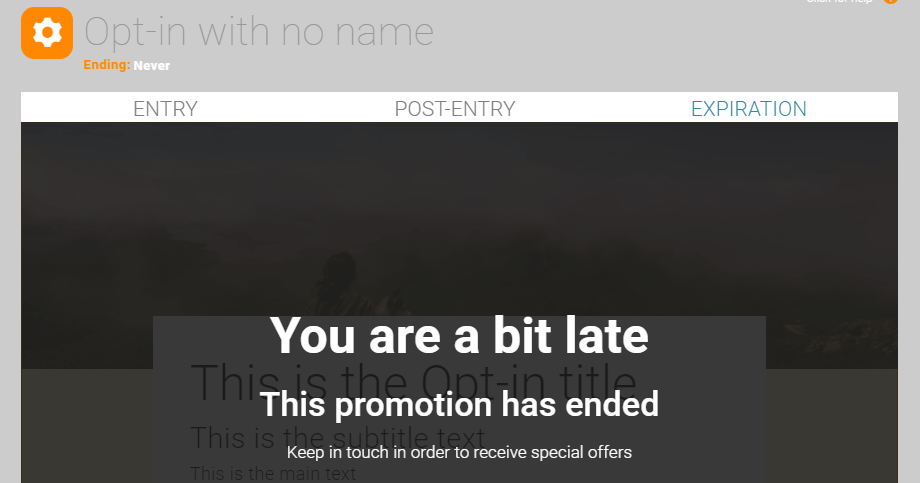
Expiration Message
The message shown when the Opt-in has expired
8. Once you are ready to go live, generate your service. Click on the Create button on the right bottom corner of the page.
Note: This doesn't automatically post your contest on your social media, e.g. your Facebook Business Page
Report
1. Navigate to the Services page
2. Click on the desired Opt-in balloon to be redirected to the report page
♦ Post to Social Media, copy or embed the URL generated for the Opt-in service
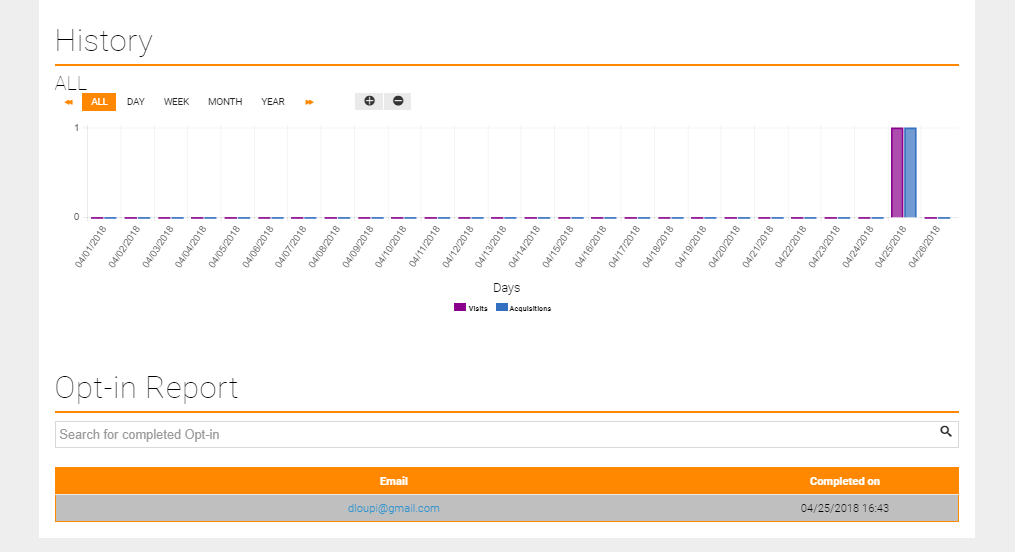
♦ View Visits, Acquisitions, Conversion rate and detailed Opt-in report
♦ Options: Duplicate service, use in an Event Campaign, stop, export, create dynamic group for Opt-in participants

Note: Opt-in services are one-time use. If you try to retype your data, a message will appear that the data have been already typed and they are only updated.


