Dynamic Groups
Besides the default groups (Bounced SMS, Bounce Email, Blocked) and the groups that can be created and populated by you, Tellody can generate Dynamic Groups based on a number of criteria.
Dynamic groups are populated automatically and can be used in Campaigns
Four types of criteria are supported:
Contact's Satisfaction
Contact's Engagement
Contact's participation to Services
Geolocation
Satisfaction Groups
Satisfaction metric gathers information about the satisfaction of your contacts based on their responses to Tellody Surveys. Tellody has three default dynamic satisfaction groups (Not Good, Ok, Good),

but you also have the ability to create satisfaction groups based on the metrics that you like. You can't add any contacts to this group, as contacts are automatically added to it.
Create a Satisfaction Group
Go to Analytics Page.
Click on the Contact Satisfaction tile to get to the Contact Satisfaction page.
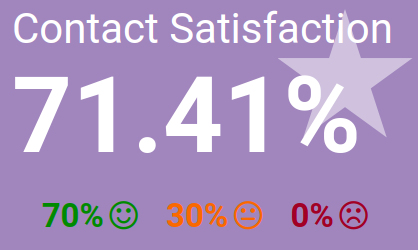
At the Contact Satisfaction page, select the satisfaction metric you want your group to have, at the 'Create Group' section.

Click on the button 'Create a group'.
Click 'Yes' on the question that pops up.
You can see and edit your group at the Contacts Page.

Engagement Groups
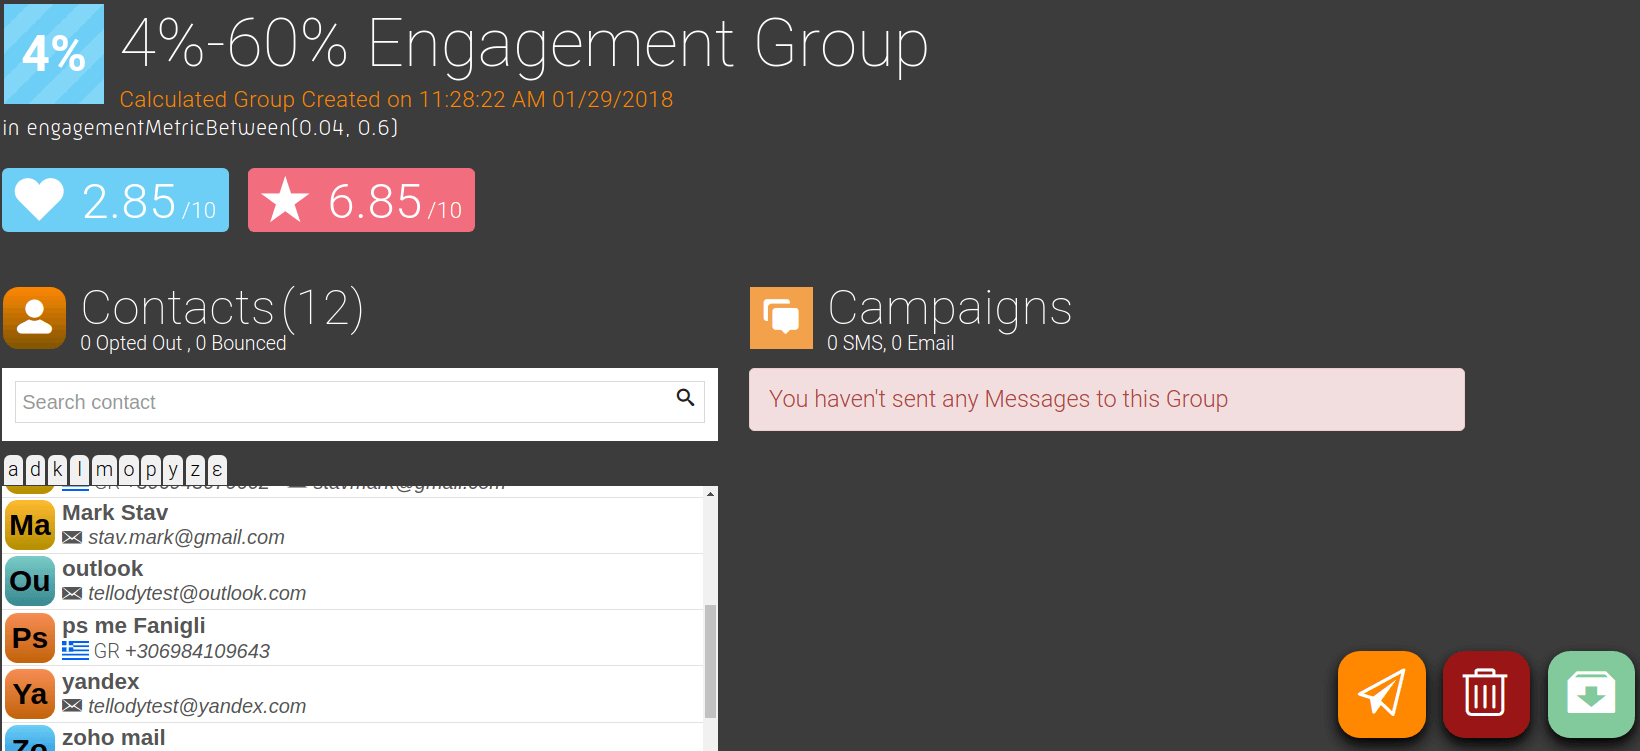
Engagement metric provides the necessary information about the participation of your contacts to the services that you send to them. You can't add any contacts to this group, as contacts are automatically added to it.
Create an Engagement Group
Go to Analytics Page.
Click on the Contact Engagement tile to get to the Contact Engagement page.
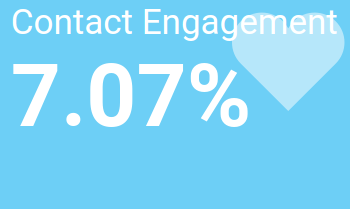
Select the engagement metric you want your group to have, at the 'Create Group' section.

Click on the button 'Create a group'.
Click 'Yes' on the question that pops up.
You can see and edit your group at the Contacts Page.
Service Groups
You can create a dynamic group with participants of your services.
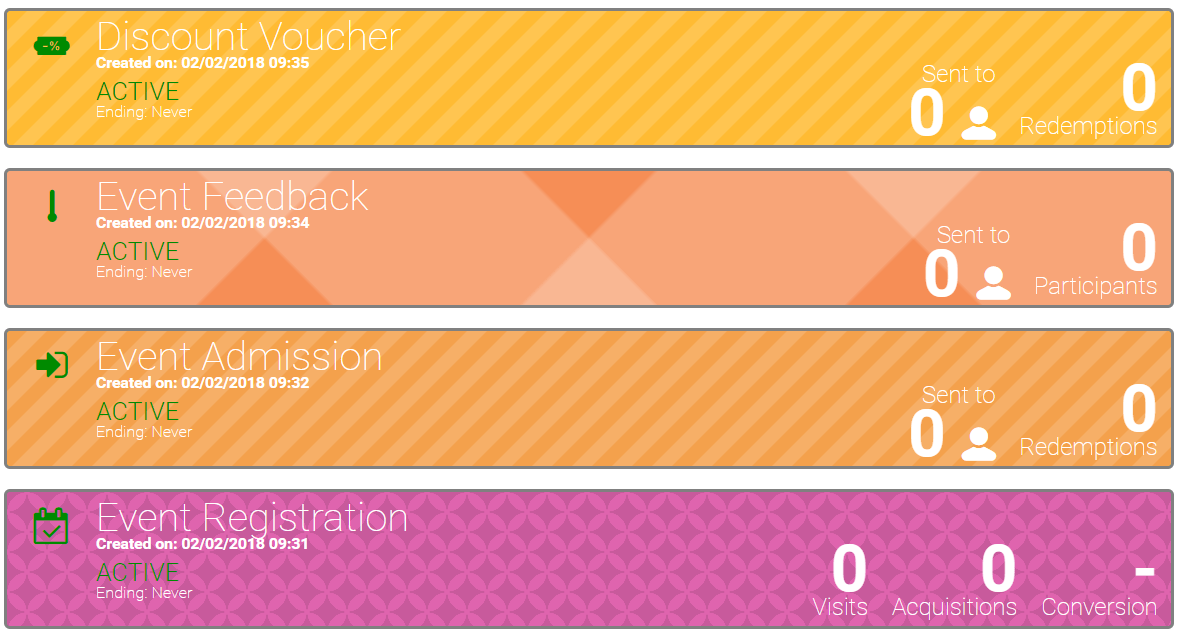
Service Groups are populated automatically when one of your Contacts submits a survey, or uses a voucher or opts in through a Instant win.
Create Service Groups
Opt in Group
Go to Services page.
Click on an opt in service from 'Your Services' to view the Report of this opt in.
Click on the 'Thumbs up' icon on the right bottom corner of the Opt in report page.

Click 'Yes' on the question that pops up.
The group is created and it contains the participants of the Opt in.
Instant Win Group
Go to Services page.
Click on an Instant Win service from 'Your Services' to view the Report of this Instant Win.
Click on the 'Group' icon on the right bottom corner of the Instant Win report page.

Click on the 'Group' icon to create a group for Instant Win Participants or the 'Trophy' icon to create a group for Instat Win Winners.

Sweepstake Group
Go to Services page.
Click on a Sweepstake service from 'Your Services' to view the Report of this Sweepstake.
Click on the 'Group' icon on the right bottom corner of the Sweepstake report page.

Click on the 'Group' icon to create a group for Sweepstake Participants or the 'Trophy' icon to create a group for Sweepstake Winners.

Survey Group
Go to Services page.
Click on a Survey service from 'Your Services' to view the Report of this Survey.
Click on the 'Group' icon on the right bottom corner of the Survey report page.

Click on the 'Thumbs Up' icon to create a group for Survey Participants or the 'Thumbs Down' icon to create a group for Survey Non-Participants.

Voucher Group
Go to Services page.
Click on a Voucher service from 'Your Services' to view the Report of this Voucher.
Click on the 'Group' icon on the right bottom corner of the Voucher report page.

Click on the 'Thumbs Up' icon to create a group for Voucher Participants or the 'Thumbs Down' icon to create a group for Voucher Non-Participants.

View your Service Groups
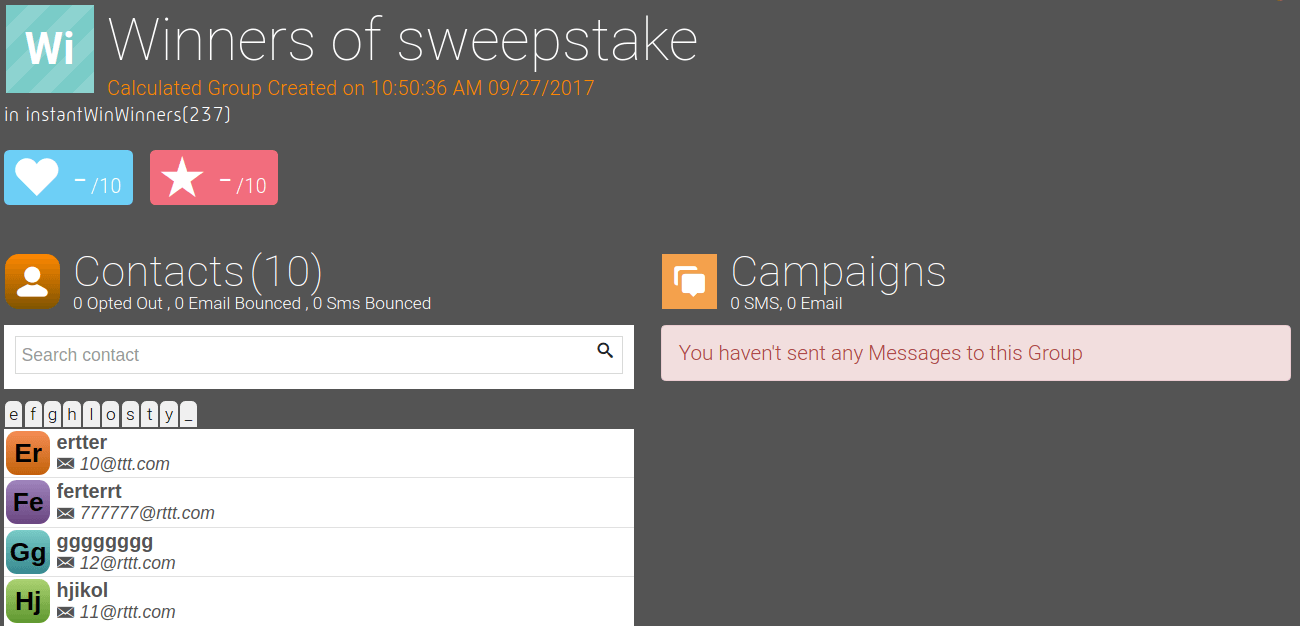
You can view your new Services Group at the Contacts Page.
And in details:
Geo Groups
With Tellody you can view and Group Contacts on the map
If you have address information of your contacts and you have activated the Geolocation Add On, you have the option to generate Dynamic Geolocated Groups.
Make a Geo Group
- Navigate to Contacts Page and click on the
floating buttonon the bottom right corner with the map pin icon
 OR
OR
Navigate to the Analytics Page and click on the Geolocation Tile. From there you can see how many of your contacts actually have a valid address.

- A
mapopens in a new page, showing the exact locations of your contacts.
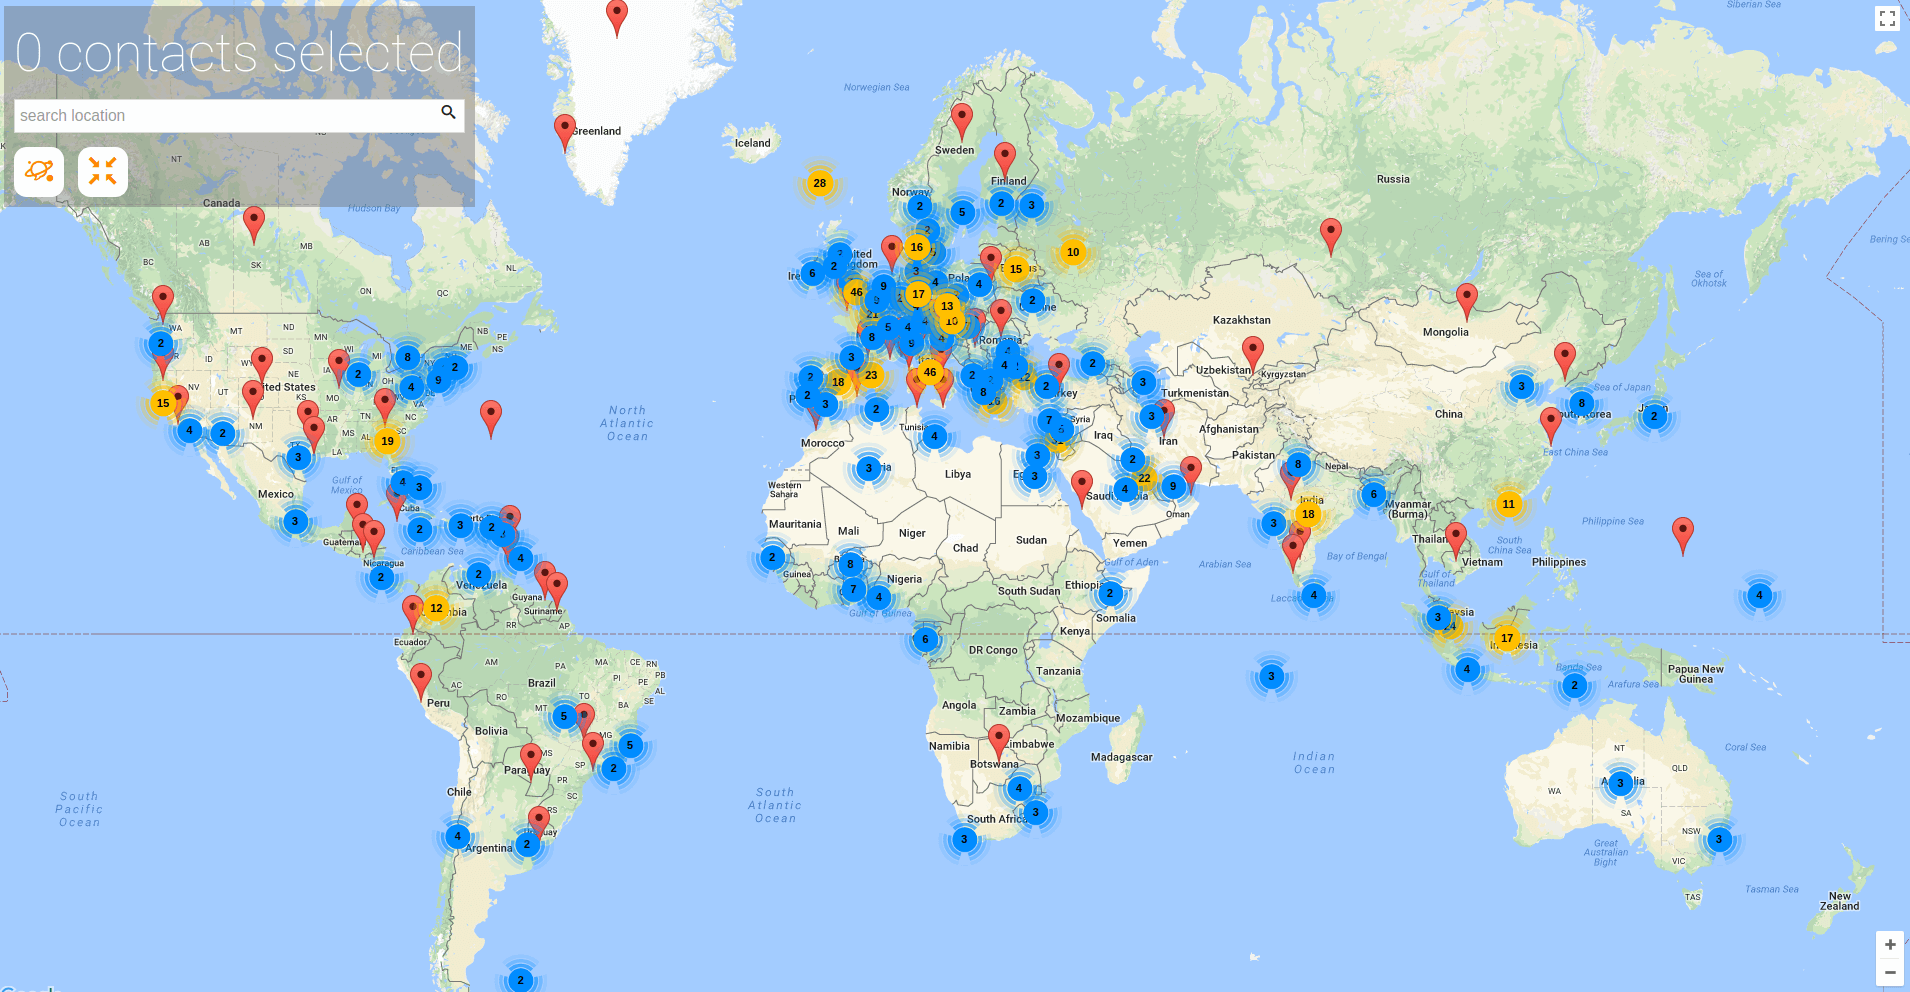
- Click the Select Contacts from the map button.

Resize the frame to select the preferred locations.
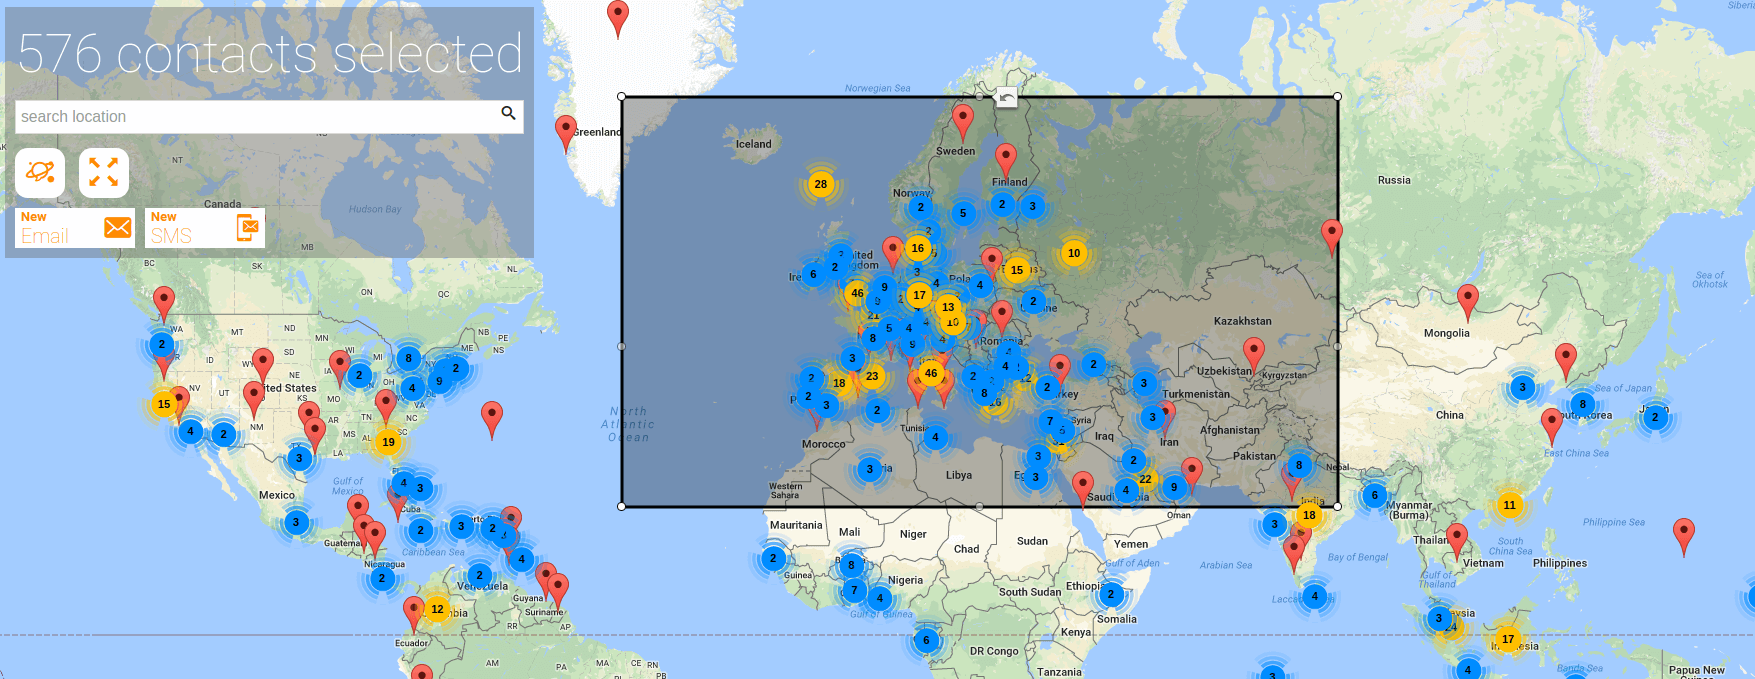
Click on the New Email or the New SMS button

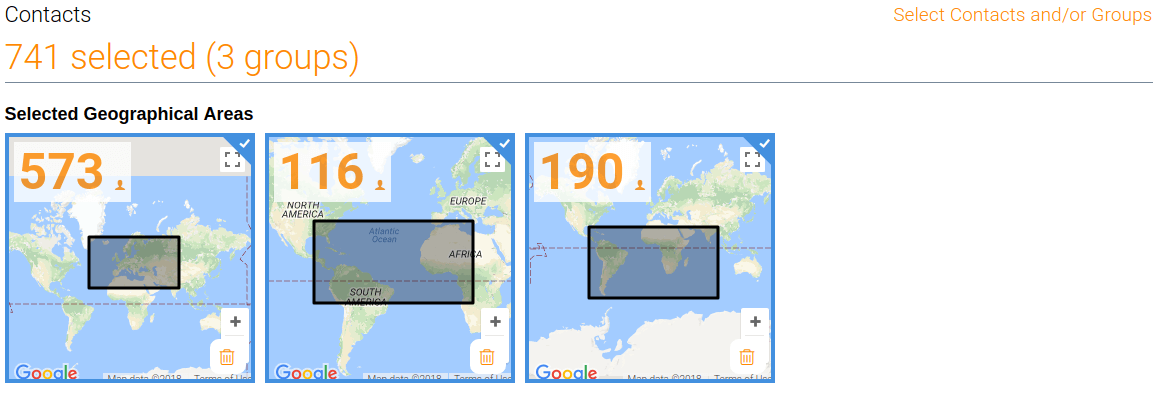
Your campaign will be targeted to the contacts selected from the map. In the example below, all the targeted contacts have been included in a new
Geogroup
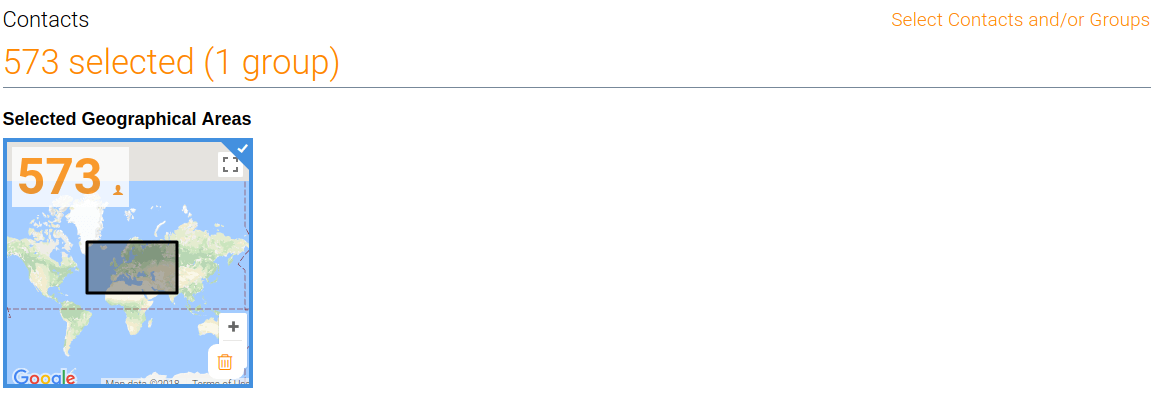
If you want to include a new
Geogroupin your campaign: (a) click the New Geographical Area button, and (b) create a newGeogroupthrough themapthat opens in a new page

You can target a Campaign to as many Geogroups as you like. These Geogroups can be used for other campaigns as well.
