Emergency Announcement
Your can use Emergency Announcement text to alert your customers for any emergency case that troubles your company such as a natural disaster that delays the delivery of your products or the availability of your services.
Create
1. Navigate to the Services page
2. Click on the Emergency Announcement tile
3. Name your service through the name placeholder; select expiration from the ending placeholder (if any)
4. Configure your service
- Title, organization name and contact details
- Edit the default components (emergency description, feedback, etc.)
- Add additional components; click on the
Add New Componentbutton

You can drag Components around to have them in the desired order.
Survey Components
Free Text
You can place your preferred text to the Title and Subtitle placeholders

You can select the number of the allowed characters for your customer's response.
Tellody will perfom Sentiment Analysis on the response and assign a value.
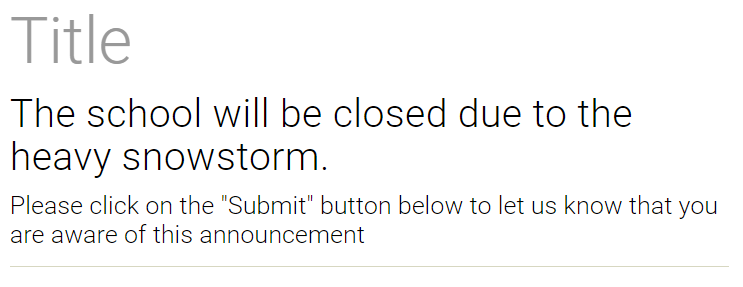
An example of a free text component is the preconfigured emergency main text.
Rating
You can insert text to the Title placeholder and select the number of the rating stars (up to 10); an example of a rating component is the preconfigured How did you find our services

Multiple/Single Choice
You can place your preferred text to the Title and the Main Text placeholders; you can add more options through the Add Answer button
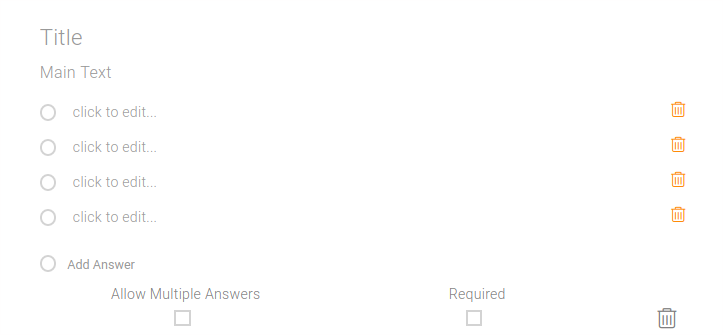
If you select the Allow Multiple Answers checkbox, then radio buttons are replaced by boxes and multiple answers are allowed.
If you select the
Requiredcheckbox, then an answer is required in order to submit the survey.
Image / Logo / Formatted Text
You can add logos, images and formatted text in the main body of your Emergency Announcement
5. Configure visual design properties
You can either upload and use your own custom Theme (e.g. upload a custom image) or you can use one of the hundreds that Tellody provides by default (see more about Themes)
As mentioned previously you can modify the visual design of the main body of your Emergency Announcement, too.

Mobile Preview gives a preview of how your Event Feedback will look like when viewed from a mobile device
6. Set up the Post Entry message
Post Entry message is the one your contacts view after the successful submission of the Emergency Announcement; you can modify the default message as you wish

7. Click to the Create button and your Emergency Announcement is ready to go
Report
You can access the responses to your Emergency Announcement from the Emergency Announcement Report page
1. Navigate to the Services page
2. Click on the Emergency Announcement's balloon
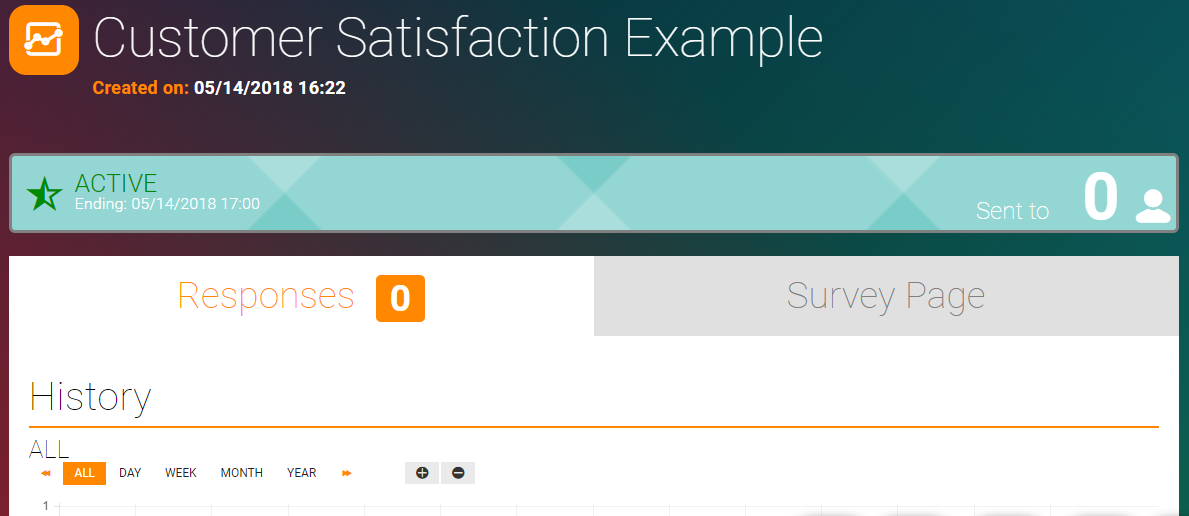
Here you can view detailed statistics for every single question along with a Emergency Announcement Detailed Report table
Customer Journey
To view how your Emergency Announcement interacts with other campaigns and services, you have to click on the Summary balloon

and the Customer Journey accordion will expand

More about the Customer Journey at the Customer Journey page
Sentiment Analysis
Tellody perfoms Sentiment Analysis on all free text submissions of you customers. Each and every Sentiment Score is presented on the form of a colored face next to the the Customer submission.

Those metrics are calculated to provide Global and per Contact Satisfaction metrics. More at the Satisfaction page.
